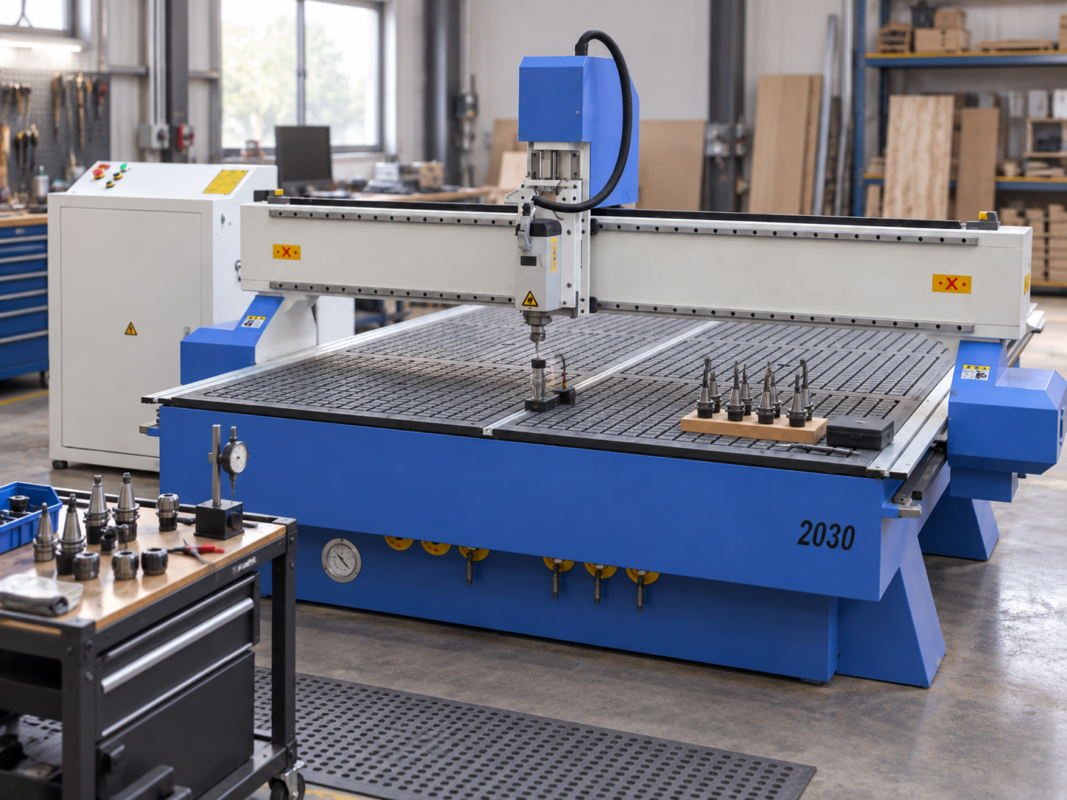
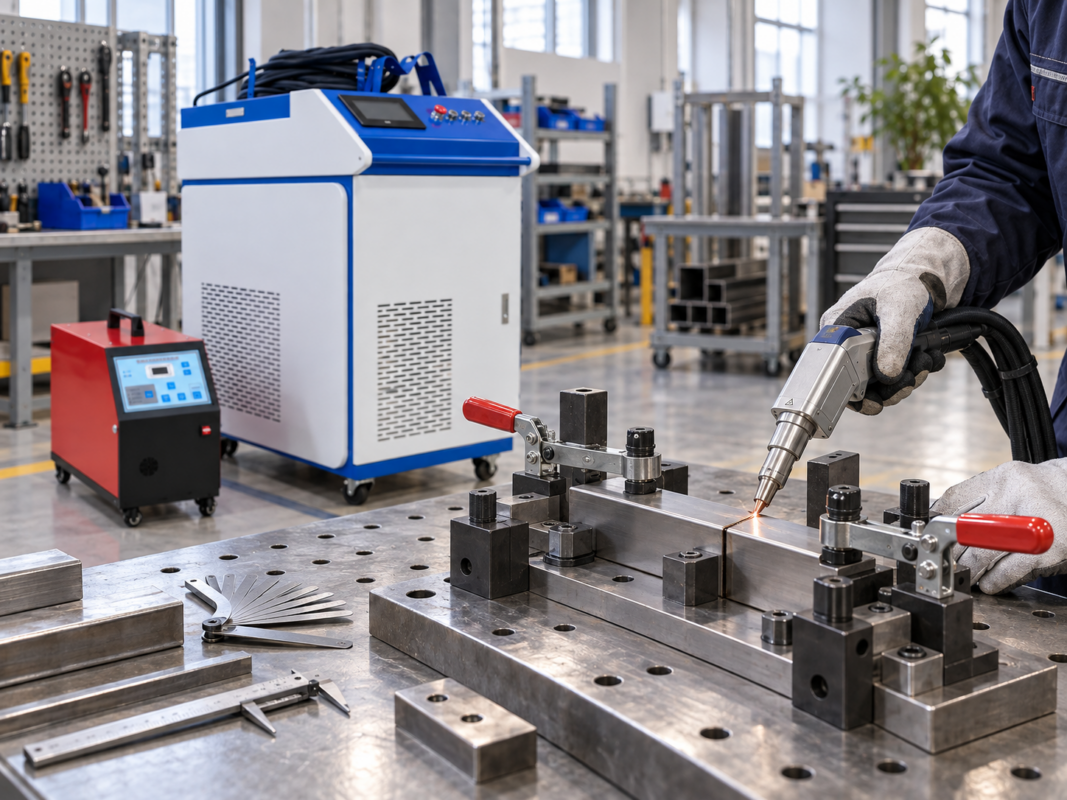
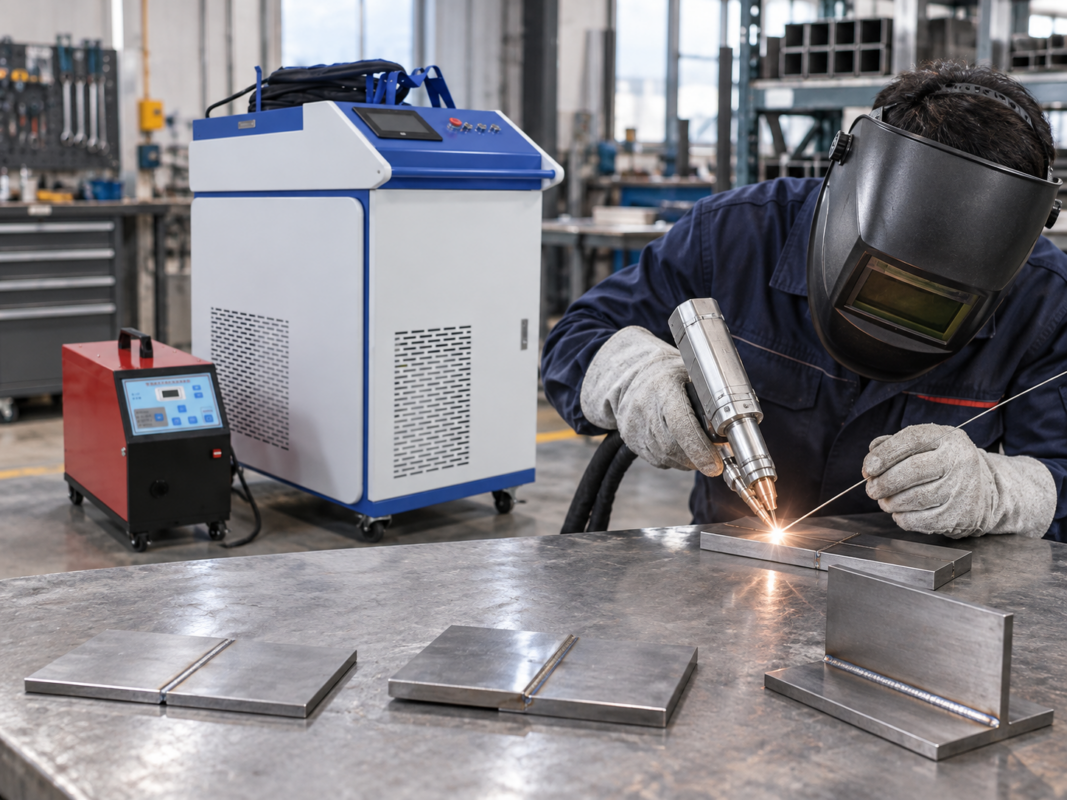
Handheld Laser Welder Maintenance and Safety Checklist


A handheld laser welder should be inspected before every production shift. The controlled work area, protective equipment, welding head, delivery cable, cooling system, wire feeder and consumables all need a documented pass-or-stop check before laser emission begins. This guide explains the operator-level checks, maintenance intervals and warning signs that require technical support.
Important Safety Boundary
This article supports routine inspection and preventative maintenance. It is not a laser safety manual, a repair procedure or a source of operating parameters.
The installed machine manual, approved training, site risk assessment and competent technical advice remain the primary references. Interlocks, guards, barriers, warning systems and emergency controls must never be bypassed. South African workshop planning should also account for the Occupational Health and Safety Act and any other requirements applicable to the site and process.
1. Establish a Safe Work Area Before Machine Checks
Laser welding combines concentrated optical energy, electricity, hot metal, fumes, moving feed components and pressurised services. Maintenance is part of workshop safety, not a separate housekeeping task. Clean optics and smooth wire feeding cannot compensate for uncontrolled access or unsuitable protective equipment.
Establish a controlled work area before operation. Barriers, warning signs and entry procedures should prevent unauthorised access, while the workstation layout must keep other personnel outside foreseeable direct and reflected beam paths.
Laser eyewear must match the wavelength and optical-density requirements specified by the machine documentation or formal risk assessment. Ordinary welding glasses, tinted spectacles and clear safety glasses should not be assumed to provide suitable laser protection.
Protective clothing, gloves, footwear, face protection, hearing protection and respiratory controls may also be required. PPE is the final control layer and cannot replace barriers, extraction, safe fixtures, controlled access or functioning interlocks.
Stop Work When
- A barrier, warning sign, access control or emergency device is missing or damaged.
- Required laser eyewear or other PPE is unavailable or seriously damaged.
- Smoke extraction is unavailable for a process that requires it.
- The work area contains uncontrolled flammable materials or avoidable reflective objects.
Before Welding Coated or Unknown Metal
Confirm the material and surface condition. Paint, oil, plating, residues and unidentified coatings can change fume and fire risks.
Do not begin the job until the process, extraction method and required controls have been assessed.
2. Handheld Laser Welder Daily Pre-Start Checklist
The pre-start inspection should be short enough to complete every shift and specific enough to catch preventable faults. A trained operator can complete the external checks, while failed items and unresolved warnings should be reviewed by the person responsible for maintenance or supervision.
Work Area, PPE and Access
- Remove loose paper, oily cloths, aerosols and avoidable reflective items.
- Confirm barriers, signs and controlled entry points are correctly positioned.
- Keep emergency controls visible, labelled and unobstructed.
- Inspect laser eyewear and required PPE for damage, contamination and legible markings.
Handpiece, Nozzle and Delivery Cable
- Check the handpiece for impact marks, loose fittings, missing fasteners and heat discolouration.
- Inspect the nozzle and trigger area for damage, contamination or looseness.
- Follow the accessible cable length and look for crushing, abrasion, severe kinks or hot spots.
- Escalate strain or damage near a connector even when the outer covering appears intact.
Cooling, Gas and Wire Feed
- Review coolant level, flow and temperature status according to the machine manual.
- Check visible hoses and fittings for leakage, flattening, rubbing or tight bends.
- Confirm gas-cylinder restraint, regulator condition, hose routing and supply where shielding gas is used.
- Inspect the spool, rollers, guides and filler wire for rust, shaving, slipping or excessive resistance.
Daily Pass-or-Stop Decision
Pass
All required controls are in place, external components are sound and the display shows no unresolved warning.
Correct and Recheck
An approved external cleaning task or authorised consumable replacement is completed and inspected again.
Stop Work
Damage, leakage, an unresolved alarm or a failed safety control remains outside operator-level authority.

Inspect the machine cabinet, portable wire feeder, delivery cable and surrounding work area before every production shift.
3. Protective Optics, Welding Head and Cooling Care
Protective Lens Inspection
Protective optics shield more expensive internal components from smoke, dust and spatter. A contaminated or damaged protective window is a process and equipment risk rather than a cosmetic issue.
Use the approved shutdown and isolation procedure before opening an accessible optical area. Place the handpiece in a clean, stable location and keep grinding dust, dirty tools, moving air and bare fingers away from exposed surfaces.
Inspect the accessible optic under suitable white light. Haze, loose dust, dark marks, spatter, scratches, cracks, edge damage or discolouration require action through the method specified by the manufacturer.
Replace a lens with cracks, burn marks, embedded spatter, deep scratches or coating damage. Do not polish, scrape or aggressively rub an optical component. Rapid repeat contamination should trigger a wider review of the nozzle, shielding coverage, workpiece cleanliness, stand-off, sealing and replacement method.
Nozzle and Welding Head
Check the nozzle opening for distortion, cross-threading, impact damage, off-centre wear and heavy spatter. Inspect any insulating or positioning component for cracks, looseness, heat damage and incorrect seating.
Use confirmed consumables for the installed equipment. Small dimensional differences in an unverified substitute can affect alignment, sealing or wire position.
Cooling System and Environment
Confirm the approved coolant type and service interval from the machine documentation. Do not add tap water, mixed products or unapproved chemicals for convenience.
Keep cooling grilles clear and investigate a falling level, unstable flow, repeated temperature alarm or moisture near optical and electrical areas before returning the machine to production.
Stop Immediately When These Conditions Appear
- Coolant leaks from the machine, hose, fitting or handpiece connection.
- Low-flow, high-temperature, low-level or cooling communication alarms return.
- Coolant appears rusty, milky, foaming or visibly contaminated.
- A hose is crushed, blistered, abraded, kinked or unusually hot.
- Condensation or moisture appears near an optical, electrical or connector area.
- A protective optic develops burns or heavy contamination unusually quickly.
Operator-Level Work
External Checks and Approved Consumables
- Visual inspection of accessible external components
- Approved external cleaning
- Manual-permitted consumable replacement
- Alarm recording and stop-work reporting
Technician-Level Work
Internal Diagnosis and Repair
- Internal optical inspection or contamination repair
- Cable, connector or electrical repair
- Cooling-system diagnosis and internal service
- Interlock, controller or safety-system repair
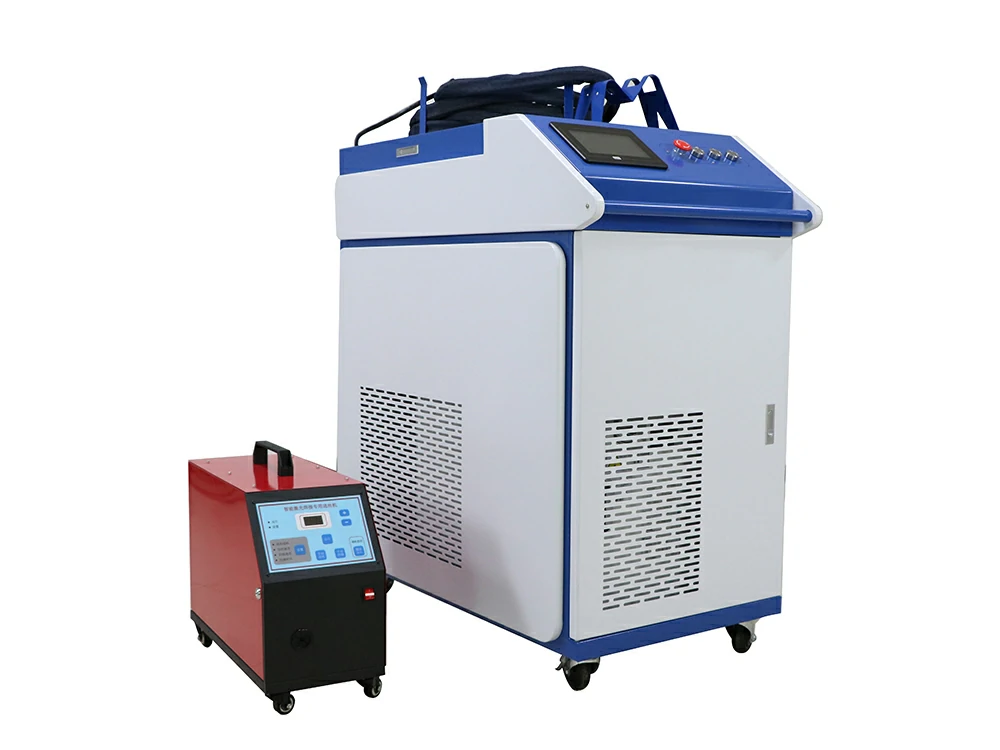
Keep cabinet vents, the control area, welding cable and wire feeder clean, dry and accessible for inspection.
4. Wire Feed, Consumables and Maintenance Schedule
Wire delivery should remain smooth and repeatable. Slipping, wire shaving, uneven movement and bird-nesting can begin with spool drag, unsuitable rollers, excessive roller pressure, liner resistance or a damaged guide.
Match wire type and diameter to the approved procedure. Keep spool labels readable and protect opened wire from oil, dust, moisture and corrosion.
Organise protective optics, nozzles, seals, rollers, guides and cleaning materials by confirmed part number and compatible equipment. Keep them sealed or protected until required.
Recommended Maintenance Levels
| Frequency | Inspection Focus | Responsible Role | Required Outcome |
|---|---|---|---|
| Every shift | Controlled area, barriers, PPE, handpiece, cable, cooling status and wire path | Trained operator | Record pass, approved correction or stop-work decision before start-up |
| Daily | Protective optic, nozzle, external surfaces, cooling grilles and fault log | Authorised trained person | Clean or replace only through the approved method and record abnormal wear |
| Weekly | Cable routing, hoses, connectors, strain points, feeder debris and extraction | Maintenance staff | Correct rubbing, crushing, loose supports and approved external contamination |
| Monthly | Alarm trends, optic use, coolant events, wire-feed interruptions and spare stock | Supervisor and maintenance lead | Identify patterns and arrange root-cause investigation before a major stoppage |
| Manual interval | Coolant service, internal inspection and scheduled components | Competent technician | Follow the installed machine schedule and confirmed component requirements |
| After an abnormal event | Impact, overheating, leakage, alarm history and last operating condition | Supervisor and technician | Preserve evidence, isolate when required and approve restart only after assessment |
Shift Inspection Record Template
Copy this structure into the workshop’s signed pre-start form. Add machine-specific checks from the installed manual rather than replacing them with a generic list.
| Check Item | Pass | Corrected | Stop Work | Notes / Reference |
|---|---|---|---|---|
| Controlled work area, barriers and warning signs | □ | □ | □ | |
| Laser eyewear and required PPE | □ | □ | □ | |
| Handpiece, nozzle and trigger area | □ | □ | □ | |
| Delivery cable, connectors and strain points | □ | □ | □ | |
| Coolant level, flow, temperature and leakage | □ | □ | □ | |
| Wire spool, rollers, guides and consumables | □ | □ | □ | |
| Extraction, fixture and workpiece condition | □ | □ | □ | |
| Control screen and unresolved alarms | □ | □ | □ |
Record with the checklist: machine identification, date, shift, operator, supervisor review and the corrective-action or service reference for every failed item.
5. When to Stop the Machine and Call Technical Support
Recurring alarms, internal contamination, damaged cables, cooling instability and unreliable safety controls are not routine cleaning issues. When an alarm returns after one authorised external check, stop repeated resets and preserve the evidence needed for diagnosis.
Smoke, burning smells, arcing sounds, unusual heat, discoloured connectors or coolant near an electrical or optical area require an immediate controlled shutdown. Apply the documented isolation process when required and do not restart until the responsible person has approved it.
01
Stop
End the process through the approved shutdown procedure.
02
Record
Capture the alarm, symptom, task, time and recent changes.
03
Isolate
Apply the documented isolation process when the condition requires it.
04
Escalate
Provide complete evidence for diagnosis and a controlled restart decision.
Information to Include in a Service Request
- Machine model and serial number
- Complete alarm code or message
- Date, shift and operator
- Process stage when the fault occurred
- Clear photographs or a short fault video
- Recent maintenance and consumable changes
- Operator-level checks already completed
- Coolant, cable or wire-feed symptoms observed
Recurring Alarm or Uncertain Machine Condition?
Send the machine identification, complete alarm details, photographs and recent service history for technical review. Keep the equipment stopped when the safety controls, cooling system, optics, delivery cable or electrical condition remain uncertain.
Frequently Asked Questions
Related CNC Laser Durban Resources
Machine Range
Handheld Laser Welding Systems
Review the available welding, cleaning and selected cutting configurations before discussing the application.
Selection Guide
Choose Around Real Workshop Jobs
Compare material, joint, wire-feed, cooling, training and production requirements before choosing a configuration.
Maintenance Support
Diagnostics, Repairs and Planned Service
Submit machine details, alarms, photographs and maintenance history for an initial technical review.
Request Technical Support or Application Advice
Need help with a recurring alarm, cooling fault, damaged delivery cable or maintenance plan? Send the machine model, complete alarm message, photographs and recent service history for technical review. For a new system, include the material, thickness, joint type and production requirement.